If you've noticed your car's paint looking dull, covered in fine scratches, or just not reflecting the way it used to, you're not imagining it. Paint degrades over time, and once the damage sets in, a regular wash won't fix it. That's where paint correction comes in.
Paint correction is one of the most misunderstood services in professional detailing. People assume it's just a polish, or that it's only for show cars, or that it's too aggressive for daily drivers. None of that is accurate. Done correctly, paint correction is a precision process that restores the surface of your vehicle's clear coat, and it's often the single most important step you can take before applying any form of long-term protection.
This guide explains what paint correction actually does, why the South Florida environment makes it more relevant here than almost anywhere else in the country, and how to know whether your car needs it.
What Paint Correction Actually Does
Paint correction is the process of removing surface defects from a vehicle's clear coat through controlled machine polishing. The clear coat is the transparent outer layer that sits on top of your color coat: it's what gives paint its gloss and protects the pigment underneath. When that layer gets scratched, swirled, or etched, the damage shows up as dullness, haze, or visible marks.
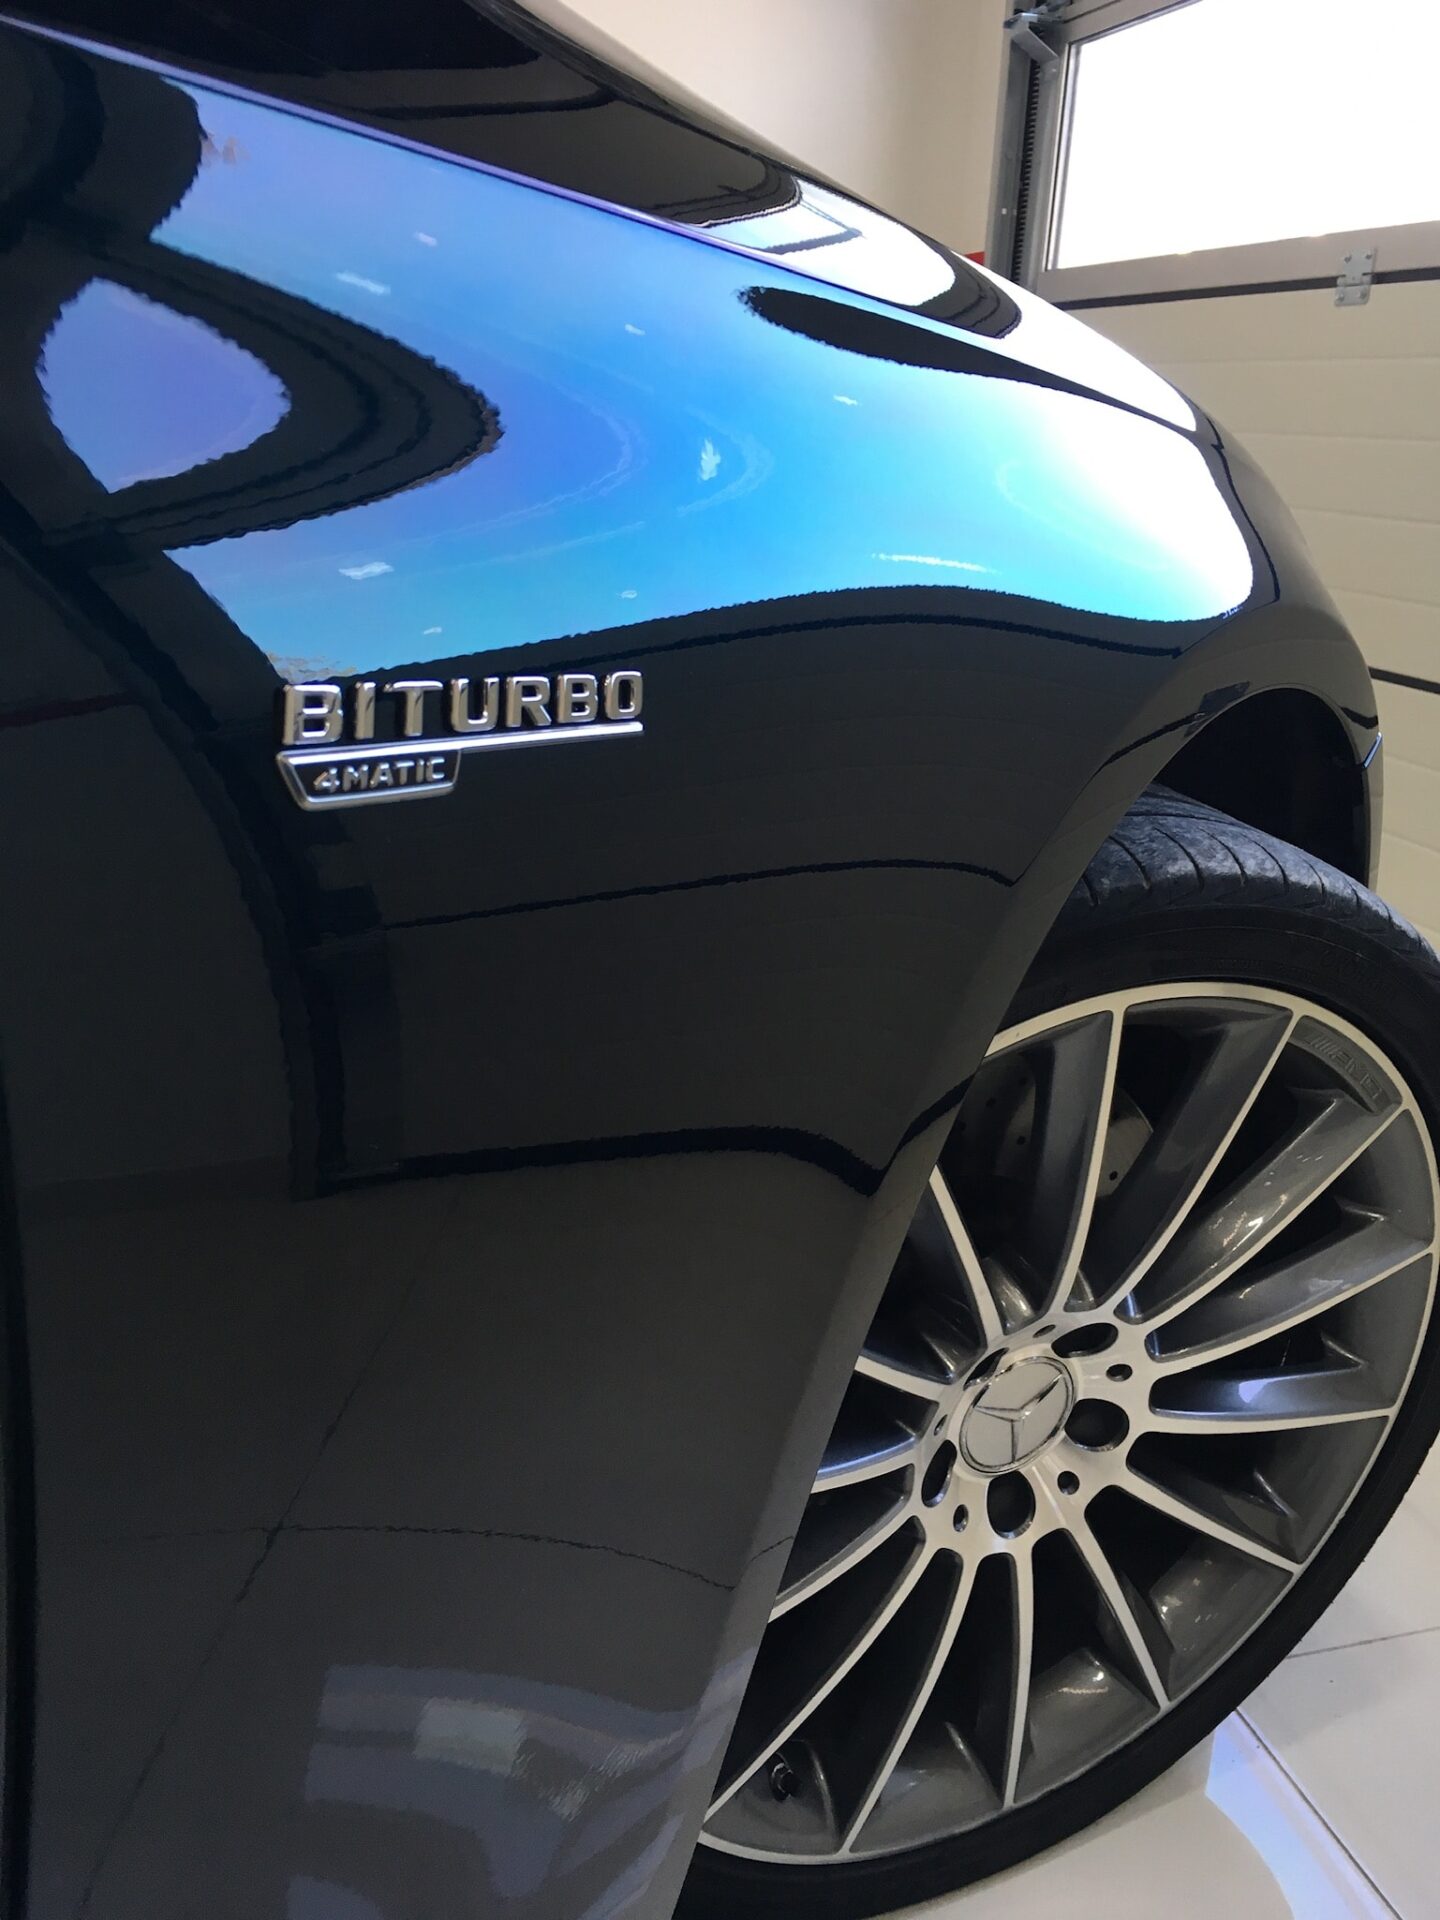
What paint correction does is remove a very thin, controlled layer of clear coat to level the surface. When light hits a scratched surface, it scatters in different directions: that's why defects appear as dull or cloudy patches. Once the surface is leveled, light reflects uniformly again, and the paint looks deep, sharp, and glossy.
It's worth being clear about what paint correction cannot do: it doesn't add material to the paint, and it can't fix damage that has cut through the clear coat into the color layer or primer. What it can do (and does extremely well) is restore a paint surface that looks tired, flat, or defect-heavy back to something close to its original condition, or better.
The result isn't just cosmetic. A smooth, corrected surface bonds better with protective coatings, holds wax longer, and is significantly easier to maintain going forward.
Why Florida Paint Degrades Faster Than You Think
Most paint correction guides are written for a general audience. If you're driving in South Florida, the context is different, and more urgent.
The combination of intense UV exposure, year-round heat, high humidity, salt air, and frequent afternoon rainstorms creates one of the harshest environments for automotive paint in the country. Each of these factors accelerates degradation in a specific way:
UV radiation is the primary driver of clear coat breakdown. Florida receives more ultraviolet radiation than almost any other state, and UV exposure causes the clear coat to oxidize, breaking down its molecular structure, causing it to fade, chalk, and lose gloss. Cars parked outdoors here age faster than the same vehicle would in the Midwest or Northeast.
Heat compounds the problem. When surface temperatures on a dark-colored car can exceed 80°C on a summer afternoon, contaminants bake into the paint, water spots etch more deeply, and any existing micro-scratches expand at the edges. High ambient temperatures also accelerate the chemical reactions that break down clear coat over time.
Salt air is a consistent threat, especially within a few miles of the coast. Salt particles are abrasive and corrosive. They settle on paint surfaces, get dragged across clear coat during washes, and over time contribute to oxidation and surface etching.
Hard water and acid rain leave mineral deposits that, if left untreated, etch into the clear coat. Florida's frequent rain sounds like a free wash, but rainwater picking up pollutants on the way down, landing on a hot surface, and then evaporating quickly leaves behind concentrated deposits that standard washing doesn't remove.
The result is that vehicles in South Florida often show paint correction-level defects years earlier than you'd expect. Cars that would look fine at five years old in a cooler, drier climate may already show significant oxidation, swirl damage, and surface etching here. That's not a reason to panic: it's a reason to understand what your paint is dealing with, and to address it proactively rather than reactively.
The Types of Paint Defects Paint Correction Addresses
Not all paint damage looks the same, and not all of it responds to correction the same way. Before any work begins, a professional detailer will inspect the paint carefully (often under dedicated lighting) to identify what's present and how deep it goes. Here's what they're looking for.
Swirl Marks and Holograms
Swirl marks are the most common defect on vehicles that have been regularly washed. They appear as fine circular or web-like scratches in the clear coat, most visible in direct sunlight or under artificial lighting. Despite how they look, they're rarely caused by a single incident: they accumulate over time through repeated contact with abrasive materials.
The most common sources: automatic car washes with rotating brushes, dirty wash mitts, low-quality microfiber towels, and improper drying technique. Even well-intentioned hand washing can introduce swirls if the wrong products or technique are used.
Holograms are a related defect: they appear as ghost-like patterns or buffer trails left behind by machine polishing that wasn't finished properly. They're typically the result of a rushed correction job where the final polishing stage was skipped or cut short. Both swirl marks and holograms are fully correctable with proper machine polishing.
Light Scratches
Light scratches sit within the clear coat layer: deeper than swirl marks, but not deep enough to reach the color coat or primer. They're usually caused by keying, brushing against bushes or garage walls, or contact with abrasive objects like car covers dragged across a dry surface.
Whether a scratch is correctable depends on depth. A simple fingernail test gives a rough answer: if your nail doesn't catch in the scratch, it's likely within the clear coat and can be removed or significantly reduced through paint correction. If the nail catches, the scratch has broken through: correction will improve its appearance but won't eliminate it entirely.
Oxidation and Fading
Oxidation is what happens when UV radiation and atmospheric exposure break down the clear coat at a molecular level. The surface becomes dull, chalky, and flat: it loses its ability to reflect light cleanly. On darker colors, oxidation shows as a grey or hazy cast. On lighter colors, particularly white and silver, it can be harder to spot until the paint is viewed under direct light.
Mild to moderate oxidation responds well to paint correction. A compound with sufficient cut can remove the degraded surface layer and expose the healthier clear coat underneath. Severe oxidation, where the clear coat has broken down across large areas or started to peel, may be beyond correction and would require repainting.
In South Florida, oxidation is one of the most frequent reasons vehicles come in for paint correction. The UV load here is high enough that even relatively new cars, if left unprotected and parked outdoors, can show early oxidation within a year or two.
Water Spots and Chemical Etching
Water spots form when water evaporates on a paint surface and leaves behind mineral deposits: primarily calcium and magnesium from hard water, or concentrated pollutants from rainwater. Early-stage water spots sit on top of the clear coat and can be removed with a dedicated water spot remover or light polish. Left untreated, the minerals begin to etch into the surface, creating depressions that can only be corrected through machine polishing.
Chemical etching follows the same pattern but is caused by acidic or alkaline contaminants rather than minerals: bird droppings, tree sap, industrial fallout, and certain cleaning products are common culprits. Bird droppings are particularly aggressive: they're acidic and can etch through clear coat within days, especially on a hot surface. The longer they sit, the deeper they go.
Both water spots and chemical etching are addressable through paint correction, with the depth of correction required depending on how long the damage was left untreated. This is one of the clearest arguments for not delaying: the same defect that takes a light polish to fix today may require a more aggressive compound (and more clear coat removal) in six months.
How Paint Correction Works: The Process Step by Step
Paint correction isn't a single action: it's a sequence of steps where each one sets up the next. Skipping or rushing any stage affects the final result, sometimes significantly. Here's what a proper correction process looks like from start to finish.
Wash and Decontamination
Before any polishing begins, the vehicle needs to be completely clean and decontaminated. This goes beyond a standard wash.
The process starts with a thorough hand wash to remove loose dirt, road grime, and surface debris. Once clean, the paint is decontaminated in two stages: chemical decontamination using an iron remover and tar remover to dissolve embedded metallic particles and hydrocarbon deposits, followed by physical decontamination with a clay bar to pull out anything bonded to the surface that washing alone won't remove.
This step matters because polishing over contaminated paint grinds contaminants into the surface, creating new defects in the process of trying to fix existing ones. A proper decontamination also gives you a clean read on what the paint actually looks like: some apparent defects disappear once contamination is removed, while others become more visible.
Paint Inspection and Measurement
Once the surface is clean, the paint gets a thorough inspection under dedicated lighting, typically high-intensity LED or halogen inspection lights that reveal defects invisible under normal conditions. This is where swirl marks, holograms, scratches, etching, and oxidation are mapped across the vehicle.
A paint thickness gauge is used to measure the clear coat depth at multiple points across each panel. This reading is critical. Clear coat can only be polished so many times before it becomes too thin to correct safely: knowing the starting thickness determines how aggressive the correction can be and whether certain areas need a more conservative approach.
This inspection stage is what separates a precise correction job from a guesswork polish.
Compounding (Cutting)
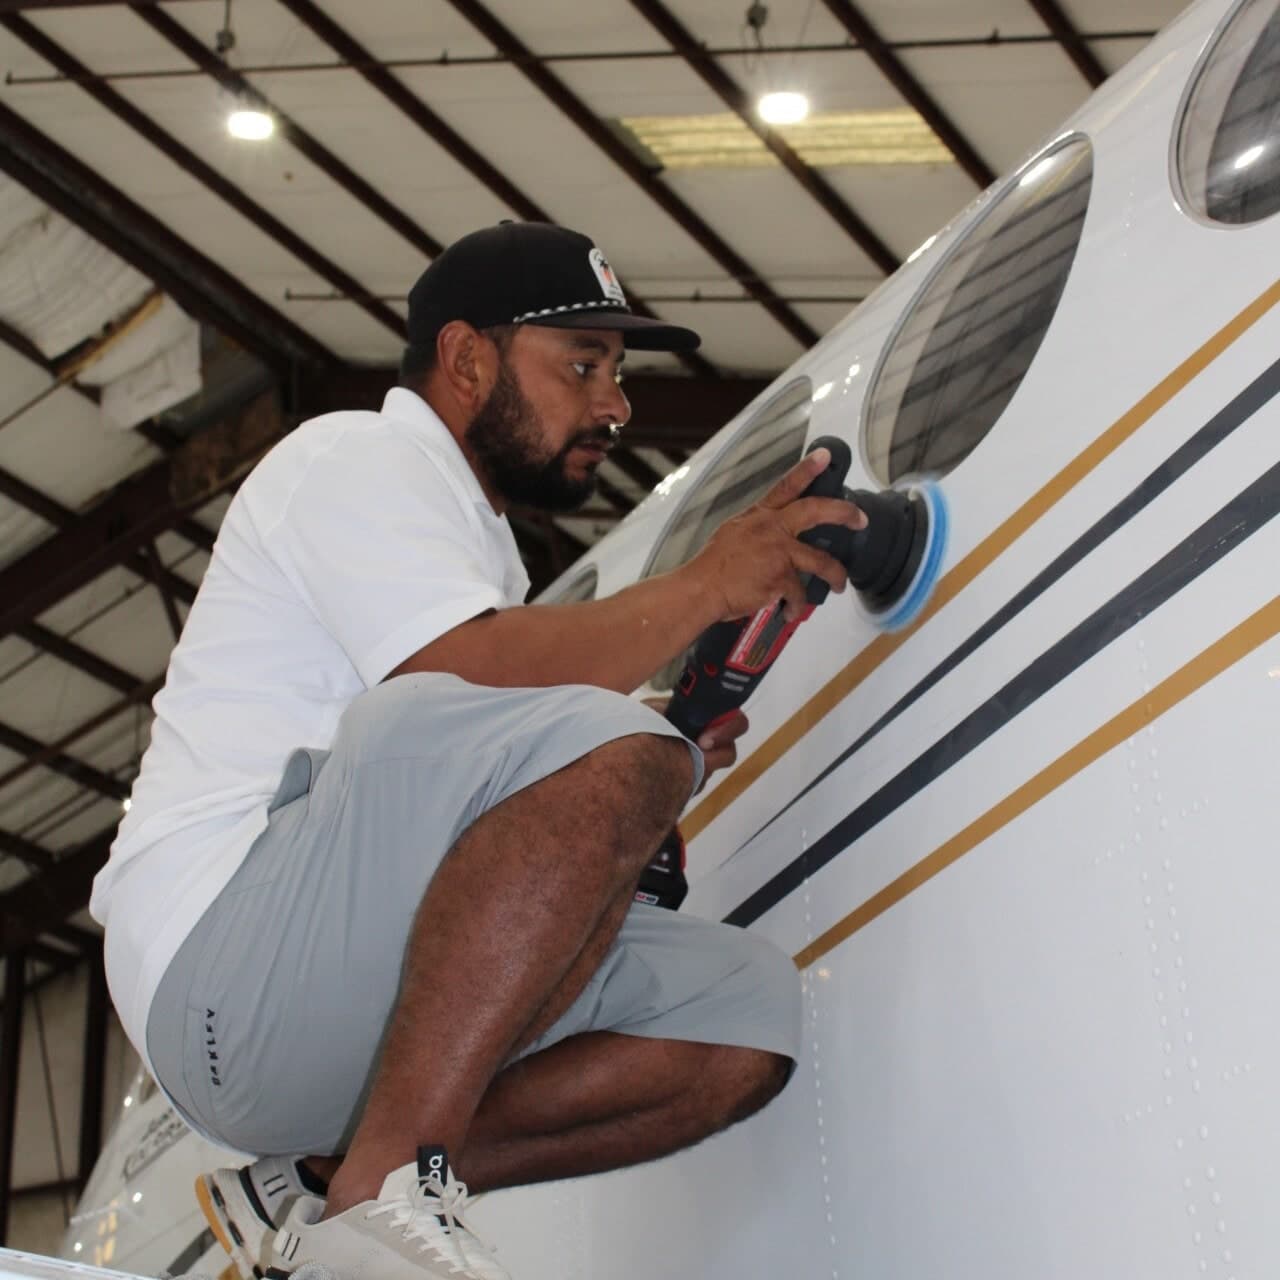
Compounding is the first (and most aggressive) stage of machine polishing. A cutting compound contains abrasive particles that remove a controlled layer of clear coat to level out defects. The combination of compound, pad, and machine speed determines how much material is removed.
For significant defects (deep swirls, moderate scratches, oxidation, heavy water spot etching), this stage does the heavy lifting. The goal is to remove enough clear coat to eliminate or significantly reduce the defect, without removing more than necessary.
The work is done systematically, panel by panel, with consistent machine speed and pressure. Sensitive areas (trim edges, body lines, rubber seals) are taped off beforehand to prevent compound from getting into gaps or damaging adjacent surfaces.
After compounding, the surface will look significantly improved but not finished: there will typically be light haze or fine micro-scratches left by the cutting compound itself. That's expected. The next stage removes them.
Polishing and Refinement
Polishing follows compounding and uses a finer abrasive with a softer pad to refine the surface. Where compounding removes defects, polishing removes the marks left by the compound and brings the clear coat to its final level of clarity and gloss.
This stage is what produces the depth and reflectivity that makes corrected paint look genuinely different from paint that's just been washed and waxed. The surface becomes optically flat (light hits it and reflects cleanly rather than scattering), which is what creates that mirror-like finish.
Once polishing is complete, the paint is wiped down with an IPA (isopropyl alcohol) solution to remove any polish oils from the surface. This is essential if a ceramic coating is going on next: oils left on the surface will interfere with the coating's bond. It also gives a true final read on the paint, since polish oils can temporarily fill minor defects and mask the actual result.
Single-Stage vs. Multi-Stage Correction: Which Does Your Car Need?
Paint correction is typically categorized by the number of machine polishing stages involved. The right approach depends on the condition of the paint, the depth of defects present, and the result you're after.
Single-stage correction uses one round of machine polishing (usually a mid-range compound or an all-in-one polish) to address light to moderate defects. It's appropriate for vehicles with minor swirl marks, light surface haze, or early-stage oxidation where the clear coat is in reasonably good condition.
Two-stage correction involves a cutting compound followed by a finishing polish. This is the most common approach for vehicles with moderate to heavy swirl marks, water spot etching, or dull oxidized paint. Most vehicles that haven't had professional paint correction before fall into this category.
Three-stage correction adds an extra compounding or polishing step, typically reserved for vehicles with severe defects: deep scratches, aggressive oxidation, or paint that's been poorly corrected in the past and has buffer trails or holograms baked in. It's also the standard approach for high-end exotic or collector cars where the owner wants the absolute best possible result.
The stage count isn't a marketing tier: it's a practical decision based on what the paint actually needs. A good detailer will assess the paint first and recommend the appropriate correction level, not default to the most expensive option. Overcorrecting removes more clear coat than necessary, which shortens the paint's long-term lifespan. Undercorrecting leaves defects behind that will show through any protection applied afterward.
Why Paint Correction Is the Right Step Before Ceramic Coating
Ceramic coatings have become the go-to long-term protection for vehicles that see regular use in demanding environments. They bond to the clear coat at a semi-permanent level, creating a hard, hydrophobic layer that resists UV, chemicals, water spots, and light contamination.
But a ceramic coating doesn't fix paint: it preserves whatever surface it's applied to.
If the paint underneath has swirl marks, oxidation, or etching, the coating will lock those defects in place. The coating itself will be doing its job correctly, but the finish will look the way it looked before the coating went on (dull, scratched, or hazy), just with a harder surface on top. This is one of the most common sources of disappointment in the detailing world: a customer pays for a premium coating and the result doesn't match their expectations, not because the coating failed, but because the paint beneath it wasn't corrected first.
The right sequence is always correction before coating. Correct the paint to the standard you want to maintain, then seal that result with a coating that will protect it going forward.
There's a practical reason for this beyond aesthetics. The IPA wipe-down performed at the end of the polishing process removes all surface oils and residues, leaving the clear coat completely bare and chemically clean. That's the ideal bonding surface for a ceramic coating: better adhesion, more uniform coverage, and a longer-lasting result than coating over paint that's simply been washed.
If you're considering a ceramic coating, paint correction isn't an optional add-on: it's the foundation the coating depends on.
How Long Does Paint Correction Last?
Paint correction is a permanent change to the surface: the defects that are removed don't come back on their own. In that sense, the results last indefinitely. What changes over time is the condition of the paint going forward, which depends almost entirely on how the vehicle is maintained and what protection is applied after correction.
Without any protective coating, a freshly corrected surface will begin accumulating new swirl marks and surface contamination relatively quickly, especially with regular automated washing. A ceramic coating after correction changes the equation significantly. The coating acts as a sacrificial layer, taking the environmental punishment that would otherwise be absorbed directly by the clear coat.
With a quality ceramic coating and proper maintenance washing, a corrected paint surface can stay in excellent condition for several years before another correction is needed. If you skip the coating or rely only on wax, plan for correction every one to two years to keep the paint looking its best.
The biggest factor working against longevity in South Florida specifically is UV exposure. Even with protection in place, vehicles parked outdoors long-term in this climate take on more abuse than covered or garaged vehicles. That's not an argument against correction: it's an argument for pairing it with the right protection afterward.
Is Paint Correction Worth the Cost?
For most vehicles in regular use, yes. But the honest answer depends on what you're starting with and what you're trying to achieve.
If your paint has visible swirl marks, dullness, or surface defects that bother you every time you look at the car in sunlight, paint correction will fix that. The change is not subtle. Paint that's been properly corrected looks fundamentally different (deeper, sharper, more reflective) than paint that's been washed and waxed. If the appearance of your vehicle matters to you, correction delivers a result that no other service can replicate.
If you're planning to apply a ceramic coating, paint correction isn't optional: it's a prerequisite. The coating will only perform as well as the surface it's bonded to. Skipping correction to save money upfront means paying for a premium coating that's sitting on compromised paint, which undermines the entire investment.
If you're planning to sell the vehicle, corrected paint has a direct impact on perceived value. First impressions in a private sale or trade-in appraisal are heavily influenced by the condition of the exterior. A car with dull, swirl-heavy paint suggests neglect, even if the mechanical condition is perfect.
The alternative framing: paint correction is significantly less expensive than a respray. If the choice is between correcting paint that's structurally sound but visually compromised, or repainting panels because the surface has been allowed to deteriorate to that point, correction wins on cost every time, often by a factor of ten or more.
Frequently Asked Questions
How much does paint correction cost?
Paint correction pricing depends on three main factors: the size of the vehicle, the current condition of the paint, and how many correction stages are needed. A single-stage correction on a standard sedan will cost significantly less than a three-stage correction on a large SUV with heavy oxidation.
The most accurate way to get a number is through an in-person assessment. Paint condition varies too much between vehicles for an honest quote to be given without seeing the car, and any detailer quoting a fixed price before inspecting the paint should be approached with caution.
Does paint correction remove all scratches?
Not always. Paint correction removes or significantly reduces defects that are confined to the clear coat layer: swirl marks, light scratches, surface oxidation, water spot etching, and holograms.
Scratches that have cut through the clear coat into the color layer or primer cannot be removed through polishing. A simple test: run your fingernail lightly across the scratch. If it doesn't catch, the scratch is likely within the clear coat and correctable. If your nail catches in the groove, it's gone deeper.
How long does paint correction take?
A single-stage correction on a standard vehicle typically takes four to eight hours. A two-stage correction runs eight to twelve hours or more. A full three-stage correction on a larger or heavily defected vehicle can take the better part of two days.
The time reflects the nature of the work: each panel is polished systematically, checked under inspection lighting, and refined until the result meets standard. If a quote comes with an unusually fast turnaround, that's worth questioning.
Is paint correction the same as polishing?
They overlap, but they're not the same thing. Polishing is one of the steps within a paint correction process, specifically the refinement stage that follows compounding. A standalone polish (the kind applied at a car wash or by hand) addresses only the mildest surface haze and does little for deeper swirl marks, etching, or oxidation.
Can I do paint correction myself?
Technically yes: the tools and compounds are available to consumers. Practically, it carries real risk. The main dangers: using too aggressive a compound, applying too much heat, polishing through thin clear coat on edges and body lines, or creating holograms that then need to be corrected themselves. Clear coat, once removed, doesn't grow back.
For a daily driver with light swirls, a beginner-friendly all-in-one polish with a dual-action polisher is relatively forgiving. For anything more serious (or paint going under a ceramic coating), professional work is the safer investment.
HM Car & Boat Detailing performs paint correction and ceramic coating installation throughout South Florida and the Hamptons. Mobile service: we come to your location. Get a quote.